

As a supplier of breast pump vacuum pumps, I understand the importance of maintaining the cleanliness of the tubing in these essential devices. Clean tubing not only ensures the efficient operation of the breast pump but also plays a crucial role in the health and safety of the user. In this blog, I will share the best ways to clean the tubing of a breast pump vacuum pump, drawing on my experience in the industry.
Why Clean the Tubing Regularly?
Before delving into the cleaning methods, it's important to understand why regular cleaning of the tubing is necessary. Breast milk contains proteins, fats, and sugars, which can easily adhere to the inner walls of the tubing. If not cleaned properly, these residues can become a breeding ground for bacteria and mold. This not only affects the performance of the vacuum pump but can also pose a health risk to the mother and baby. Additionally, dirty tubing can lead to a decrease in suction power, making the breast pumping process less effective and more time - consuming.

Pre - Cleaning Preparation
Before starting the cleaning process, gather all the necessary supplies. You will need mild dish soap, warm water, a clean cloth or sponge, a small brush (such as a pipe cleaner or a baby bottle brush), and a clean, dry towel. It's also a good idea to have a clean workspace where you can lay out all the parts of the breast pump.
First, unplug the breast pump from the power source to ensure safety. Then, carefully detach the tubing from the breast pump and the breast shields. Make sure to handle the tubing gently to avoid any damage. Check the tubing for any visible signs of blockages or damage. If you notice any cracks or holes in the tubing, it's best to replace it to ensure optimal performance.
Cleaning Methods
Method 1: Manual Cleaning with Soap and Water
This is the most basic and commonly used method for cleaning breast pump tubing. Fill a clean sink or basin with warm water and add a small amount of mild dish soap. Stir the water to create a soapy solution.
Submerge the tubing in the soapy water and use a small brush to gently scrub the inside of the tubing. Pay special attention to the areas where the milk is most likely to accumulate, such as the bends and joints of the tubing. For hard - to - reach areas, a pipe cleaner can be very useful.
After scrubbing, rinse the tubing thoroughly under running water to remove all the soap and debris. Make sure to rinse both the inside and the outside of the tubing. You can use your fingers to squeeze the tubing gently while rinsing to ensure that all the soap is removed.
Once the tubing is clean, pat it dry with a clean, dry towel. Avoid using a dirty or lint - producing towel, as this can leave fibers in the tubing. Then, let the tubing air dry completely in a clean, well - ventilated area before reattaching it to the breast pump.
Method 2: Using a Cleaning Solution
There are also commercial cleaning solutions available specifically for breast pump parts. These solutions are designed to effectively remove milk residues and kill bacteria.
Follow the instructions on the cleaning solution carefully. Usually, you will need to dilute the solution in water and soak the tubing in it for a specified period of time. After soaking, rinse the tubing thoroughly under running water and let it air dry.
It's important to note that when using a cleaning solution, make sure it is safe for use with breast pump parts. Avoid using harsh chemicals or bleach, as these can damage the tubing and leave harmful residues.
Method 3: Boiling (with Caution)
Some types of breast pump tubing can be boiled to disinfect them. However, this method is not suitable for all types of tubing, especially those made of certain plastics that may be damaged by high temperatures.
Before boiling the tubing, check the manufacturer's instructions to see if it is safe to do so. If it is, fill a pot with water and bring it to a boil. Carefully place the tubing in the boiling water and let it boil for a few minutes. Use tongs to remove the tubing from the boiling water and let it cool down in a clean, dry place.
Drying the Tubing
Proper drying is crucial to prevent the growth of bacteria and mold. After cleaning, make sure the tubing is completely dry before reattaching it to the breast pump.
Air drying is the best method. Hang the tubing in a well - ventilated area or lay it flat on a clean surface. Avoid storing the tubing in a damp or enclosed space, as this can promote the growth of moisture - loving organisms.
Maintaining Clean Tubing
In addition to regular cleaning, there are some steps you can take to maintain the cleanliness of the tubing. For example, use a breast milk collection container with a backflow protector. This device helps prevent breast milk from entering the tubing, reducing the amount of residue that needs to be cleaned.
Also, try to keep the breast pump and its parts in a clean environment. Wipe down the outside of the breast pump regularly with a clean, damp cloth to prevent dust and dirt from accumulating.
Our Product Recommendations
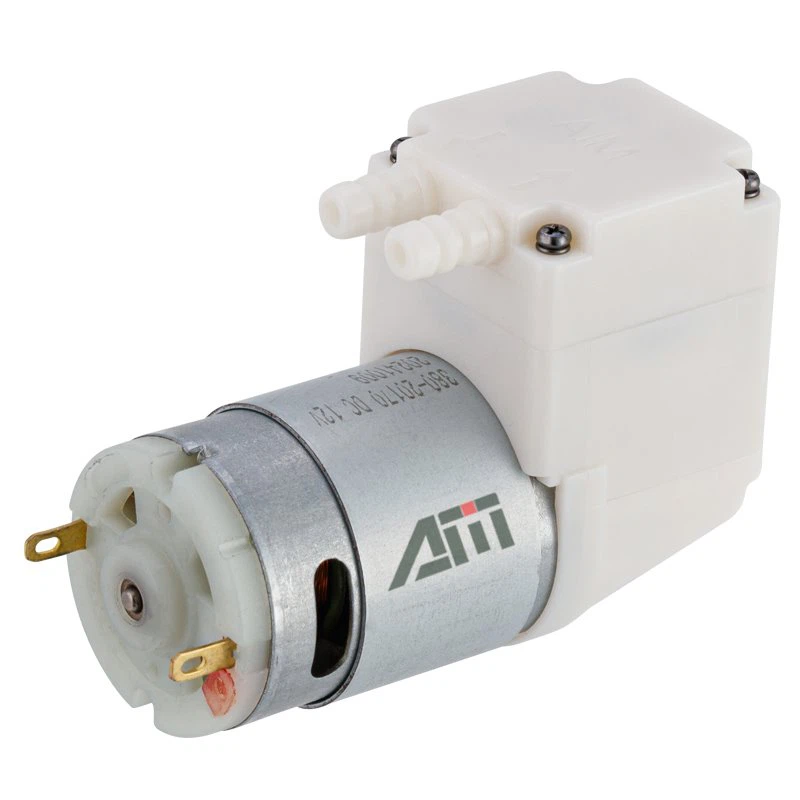
At our company, we offer a range of high - quality breast pump vacuum pumps, including the AM370HPM - 5 Micro Vacuum Pump, AM380DPV Micro Vacuum Pump, and AM555CPV Micro Vacuum Pump. These pumps are designed with user - friendliness and durability in mind, and their tubing is easy to clean and maintain.
Contact for Purchase and Consultation
If you are interested in purchasing our breast pump vacuum pumps or have any questions about cleaning and maintaining the tubing, we encourage you to reach out to us. Our team of experts is ready to provide you with detailed information and assist you in making the right choice for your needs.
References
- American Academy of Pediatrics. Breastfeeding and the Use of Human Milk. Pediatrics, 2012.
- Centers for Disease Control and Prevention. Guidelines for the Prevention and Control of Nosocomial Infections. 2003.